Respraying a car is one of those jobs that can look deceptively straightforward. The actual spraying is only one part of the process; preparation, cleanliness, paint compatibility and technique all have a major effect on the final result.
If you are planning to respray a car yourself, this guide covers the basic process from surface preparation through to primer, colour and lacquer. It is intended as an overview for enthusiasts rather than a substitute for professional paint training or a properly equipped spray booth.
If you are looking for a professional finish rather than tackling the job yourself, see our car respray service in Sussex.
Yes, it is possible to respray a car yourself, but achieving a consistent finish across a complete vehicle is considerably harder than repainting a small component.
A good respray requires:
Dust, moisture, silicone contamination, poor sanding and incorrect paint application can all spoil the finish. If the vehicle has corrosion, dents or damaged panels, those problems also need to be dealt with before paintwork begins.
The exact materials depend on the paint system and the condition of the vehicle, but a typical respray may involve:
Paint products vary considerably, so always follow the manufacturer's technical and safety information for the specific system you are using.
Preparation is the most important stage of any respray.
Before sanding begins, inspect the car carefully for dents, stone chips, corrosion, previous repairs and areas where the existing finish is failing.
Painting over these defects will not make them disappear. In many cases, fresh paint makes poor preparation even more obvious.
Repair damaged areas first. This might mean:
For more extensive damage, professional car body repairs may be needed before refinishing.
Once repairs are complete, clean the panels thoroughly to remove dirt, grease and contaminants.
The aim of sanding is to create a smooth, stable surface that the new coatings can adhere to.
You do not always need to remove every trace of the existing paint. If the original finish is sound, it can often be prepared and refinished. Paint that is peeling, cracked, reacting or hiding corrosion may need to be removed more extensively.
Work methodically and avoid creating deep sanding marks that will remain visible through the finished paint.
Edges, swage lines and panel contours need particular care because it is easy to sand through the coating more quickly in these areas.
After sanding, clean the surface again and make sure all dust and residue have been removed.
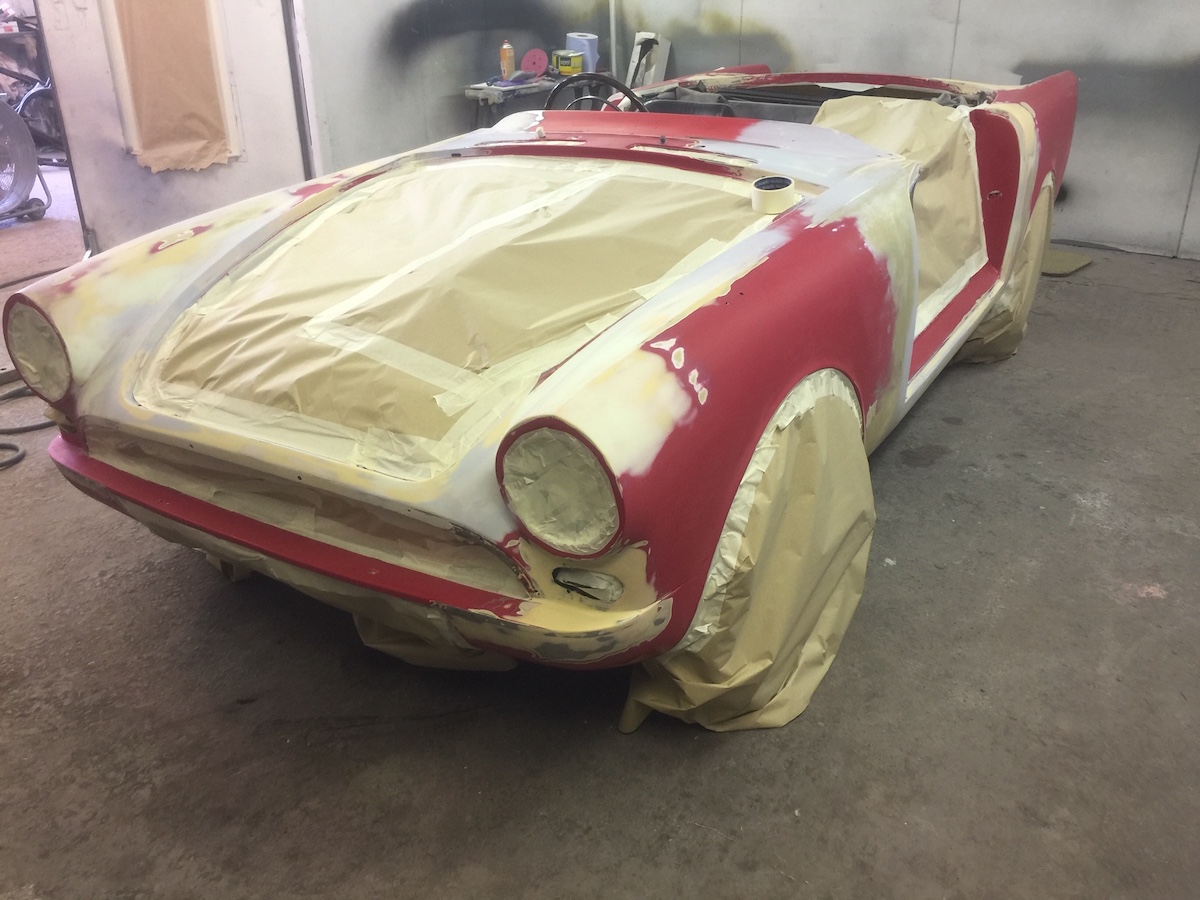
Anything that should not be painted needs to be removed or carefully masked.
Depending on the scale of the job, this can include:
For a high-quality full respray, removing trim and fittings usually produces a better result than simply masking around everything.
Primer is then applied where required. Different products perform different jobs, including protecting bare metal, filling minor surface imperfections and providing a suitable base for the colour coat.
Once cured, primer may need further sanding to create the final surface for paint.
This is the stage most people associate with respraying a car, but by this point most of the hard work should already have been done.
The paint needs to be mixed and applied in accordance with the manufacturer's instructions. Spray-gun setup, air pressure, distance from the panel, overlap and speed all affect how evenly the paint is laid down.
Rather than trying to cover the panel heavily in one pass, automotive paint is normally built up in controlled coats.
Problems such as runs, dry spray, patchiness and uneven metallic orientation can occur when application is inconsistent.
Full colour changes are more involved than refinishing a vehicle in its existing colour. Door shuts, edges and other areas may also need painting if the finished car is to look as though it was always that colour.
Many modern paint systems use a separate clear coat over the colour layer. This provides gloss and protection and forms the surface that is ultimately polished.
As with the basecoat, clear coat needs to be applied evenly and under suitable conditions.
Once the coating has cured fully, minor surface imperfections may be corrected through careful flatting and polishing where appropriate.
Do not rush this stage. Trying to sand or polish paint before it has cured sufficiently can damage the new finish.
Most poor respray results can be traced back to preparation or application problems rather than the quality of the colour itself.
Common mistakes include:
Taking more time over preparation will usually improve the result far more than simply applying additional coats of paint.
Refinishing one small panel is very different from achieving a consistent finish across an entire vehicle.
A full respray requires the colour, gloss level and finish to remain consistent across multiple panels and angles. Large horizontal panels such as bonnets and roofs can also be particularly unforgiving.
Metallic and pearlescent colours require additional care because differences in application can alter how the colour appears in different light.
For that reason, many owners are comfortable carrying out dismantling, preparation or minor repairs themselves but leave the final body preparation and spraying to a professional bodyshop.
The cost of a professional respray depends mainly on the condition of the vehicle and the amount of preparation required.
A car with straight, corrosion-free bodywork will generally require much less work than one needing welding, dent repairs or correction of previous paintwork.
Colour changes and high-end finishes can also increase the amount of labour involved.
For a fuller breakdown, see our car respray cost guide.
Yes. If damage is limited to one or two panels, a complete respray is often unnecessary.
Individual panels can be repaired and refinished, with colour matching and blending used where necessary to make the repair work with the surrounding paintwork.
This is commonly used after scratches, dents and minor accident damage.
White's Bodyworks also offers dent and scratch repair in Sussex for vehicles that do not require a complete respray.
A professional respray is usually worth considering where the existing finish has deteriorated significantly, the car requires body repairs before painting, a complete colour change is planned or the quality of the finished appearance is particularly important.
Classic cars, restoration projects and valuable vehicles can also justify a more controlled approach because poor preparation or paintwork may be expensive to correct later.
If your project involves an older vehicle, see our dedicated classic car respray service.
If you have researched the process and would rather leave the preparation and paintwork to an experienced bodyshop, White's Bodyworks undertakes full and partial car resprays from our workshop near Hassocks in West Sussex.
We can assess the condition of the existing bodywork, carry out repairs where required and advise whether the vehicle needs a complete respray or more localised refinishing.
Send us some photographs and details of the vehicle if you would like to discuss the project.